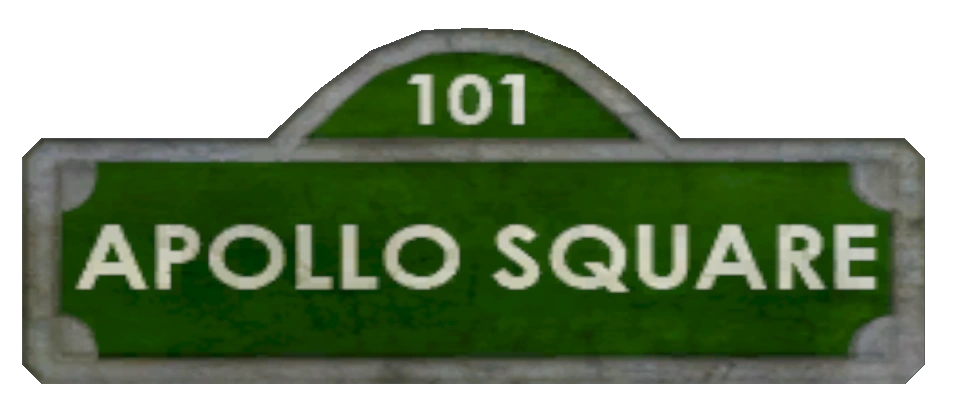
- “APOLLO SQUARE CONDEMNED — Anyone Entering or Exiting will be Shot on Sight…”
- ― Rapture Standard[src]
Apollo Square is the eleventh level of BioShock. Once a lower-class residential district in Rapture that housed many of the city's workers, it was condemned to contain Atlas's followers during the civil war.

Here Jack has to locate another sample of antidote to fully remove Fontaine's mental control over him before pursuing his foe to Point Prometheus.
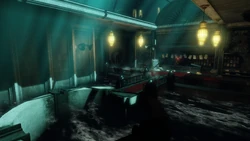
When Jack arrives at the site, the scars of both Ryan's and Atlas/Fontaine's operations are visible everywhere. The Metro system trolley is destroyed, and the entire residential area is in ruins. Pictures of missing people are posted all over the walls. Another location found by Jack is Atlas' Headquarters, which Fontaine, after he took the new persona of Atlas, used to organize and plot additional attacks upon the city. Atlas enlisted many of Fontaine's poor house residents in his "army", and also gained the loyalty of some who were previously allied to Ryan. Diane McClintock was one who joined Atlas' cause, after Ryan ignored her to fight his war. She became disgusted with the actions Ryan had taken while attempting to bring stability to Rapture.
History[]

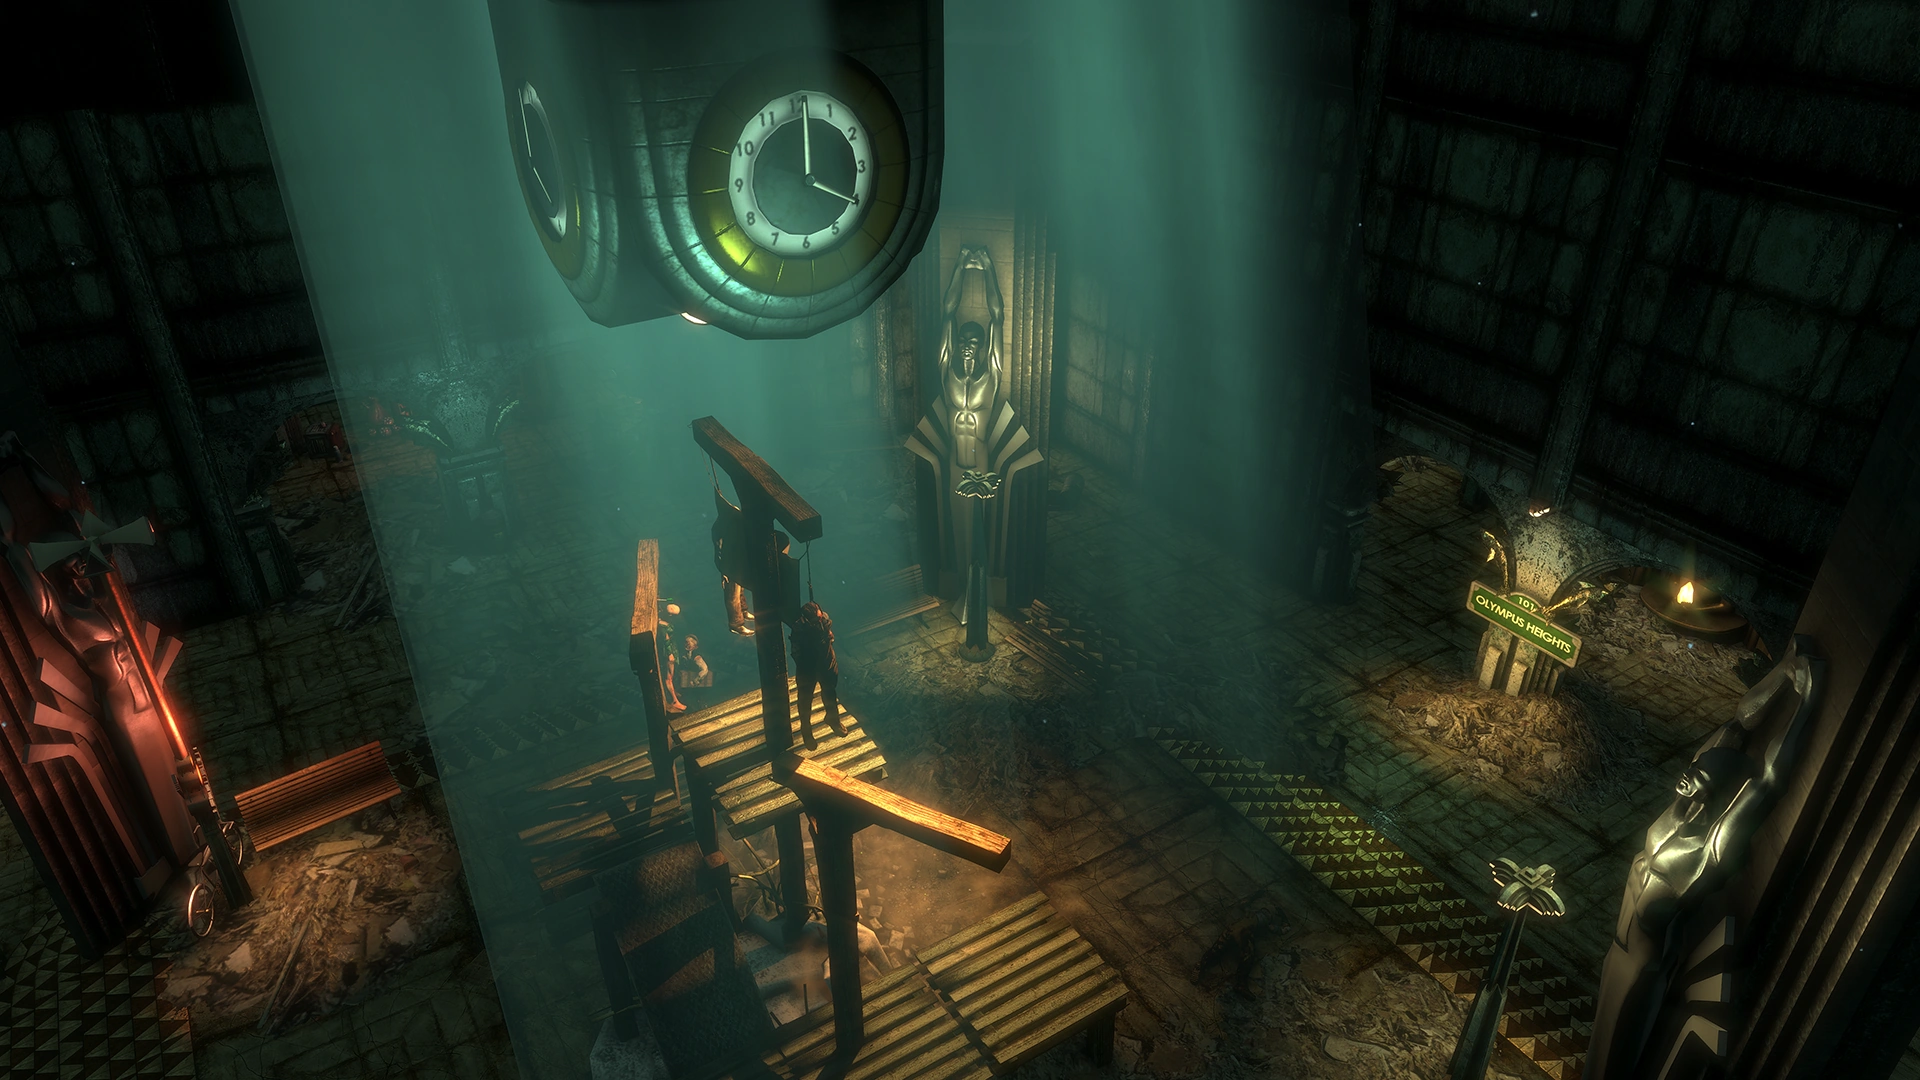
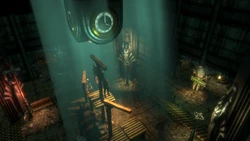
Public hangings in the central concourse.
While the whole game level is titled Apollo Square, there is an explicit location named "Apollo Square", which was a hub of Rapture's transportation and connecting routes. Branches connect to a large residential area of the city's working class citizens, Artemis Suites (which included Dr. Suchong's Free Clinic, a photography studio (possibly belonging to the infamous "Paparazzi"), and the tenement-like Hestia Chambers which had become one of Frank Fontaine's Little Sister's Orphanage, and a Fontaine's Home for the Poor.
Fontaine founded his two institutions at Apollo Square to plot against Ryan and work to take control over Rapture. The Little Sister's Orphanage was created so Fontaine (along with Dr. Tenenbaum and Dr. Suchong in some aspects) could acquire young girls to be implanted with Sea Slugs and produce ADAM, generating raw material for his growing Plasmid business. The Home for the Poor, supposedly a shelter home for indigent lower class citizens, was used by Fontaine to build a growing mob of unfortunates he would later manipulate as Atlas to attempt to dominate Rapture. Fontaine provoked its members (or "army", as Fontaine dubbed it) to initiate protests against Ryan's philosophy. Fontaine's operations and businesses were shutdown or nationalized by Ryan and his authorities in 1958, when Fontaine and some of his supporters were presumed dead in a shootout at the site of Fontaine's smuggling base. After the rise of Atlas and the wave of violence his followers brought, Ryan sent city authorities after Atlas, his men, and all suspects that were affiliated with his revolutionary cause. When first apprehended, they were relocated to Fontaine's Department Store. After the 1958 New Year's Eve Riots, many people were killed in the escalating conflict. In an attempt to restore order and combat Atlas' followers, Ryan instituted new laws against public congregations, set a curfew, and established martial law. As Ryan started to intern Atlas loyalists and other law breakers, much of the Apollo Square area was locked down to contain them and protect the rest of the city. By the time Diane McClintock paid a visit to the neighborhood, it was little more than a concentration camp.[1]
BioShock[]
- Main article: BioShock
Tram Tunnel[]
Connecting the Olympus Heights bulkhead to Apollo Square, a security checkpoint was set up here to prevent anyone from entering, or leaving, the district. This checkpoint appears to have been abandoned for some time, allowing entry to Splicers and explorers alike. Like many of the Metro's tram links, the tunnel has been left in a terrible state from the war.
Apollo Square[]
Frozen in time.
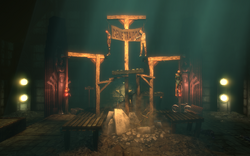
The central square of the district, once a public forum, by the time Jack arrives is now the site of a gallows where people were hanged. Three bodies still swing listlessly beneath a sign reading "Gene Traitor." The term was sometimes used to describe Splicers,[2] so it is likely the victims of the hanging were executed by some of the few remaining sane citizens of the city, or Fontaine who now controls the City.
Artemis Suites[]
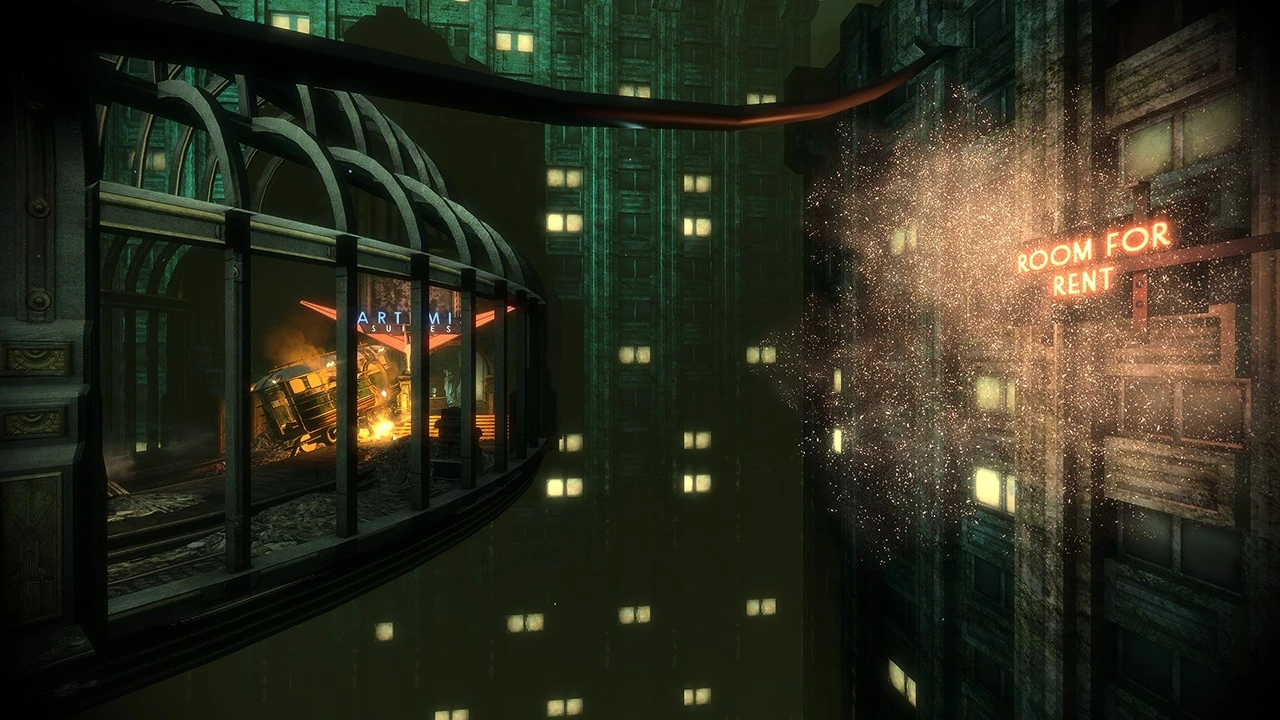

The derelict metro tunnel connecting Artemis suites to the main square.
Artemis Suites is a towering, working-class apartment complex. Reached through another tram tunnel, this place was evidently a home for Rapture's working and lower class citizens. During the war, this location was a hotbed of Atlas' forces and suffered a great deal of damage in contrast to Mercury Suites, where high class people like Sander Cohen, Frank Fontaine and Brigid Tenenbaum lived. This is also the place where Dr. Suchong's clinic operated. An audio diary can be found here explaining how Suchong was attempting to create the Protection Bond between the Big Daddies and Little Sisters.
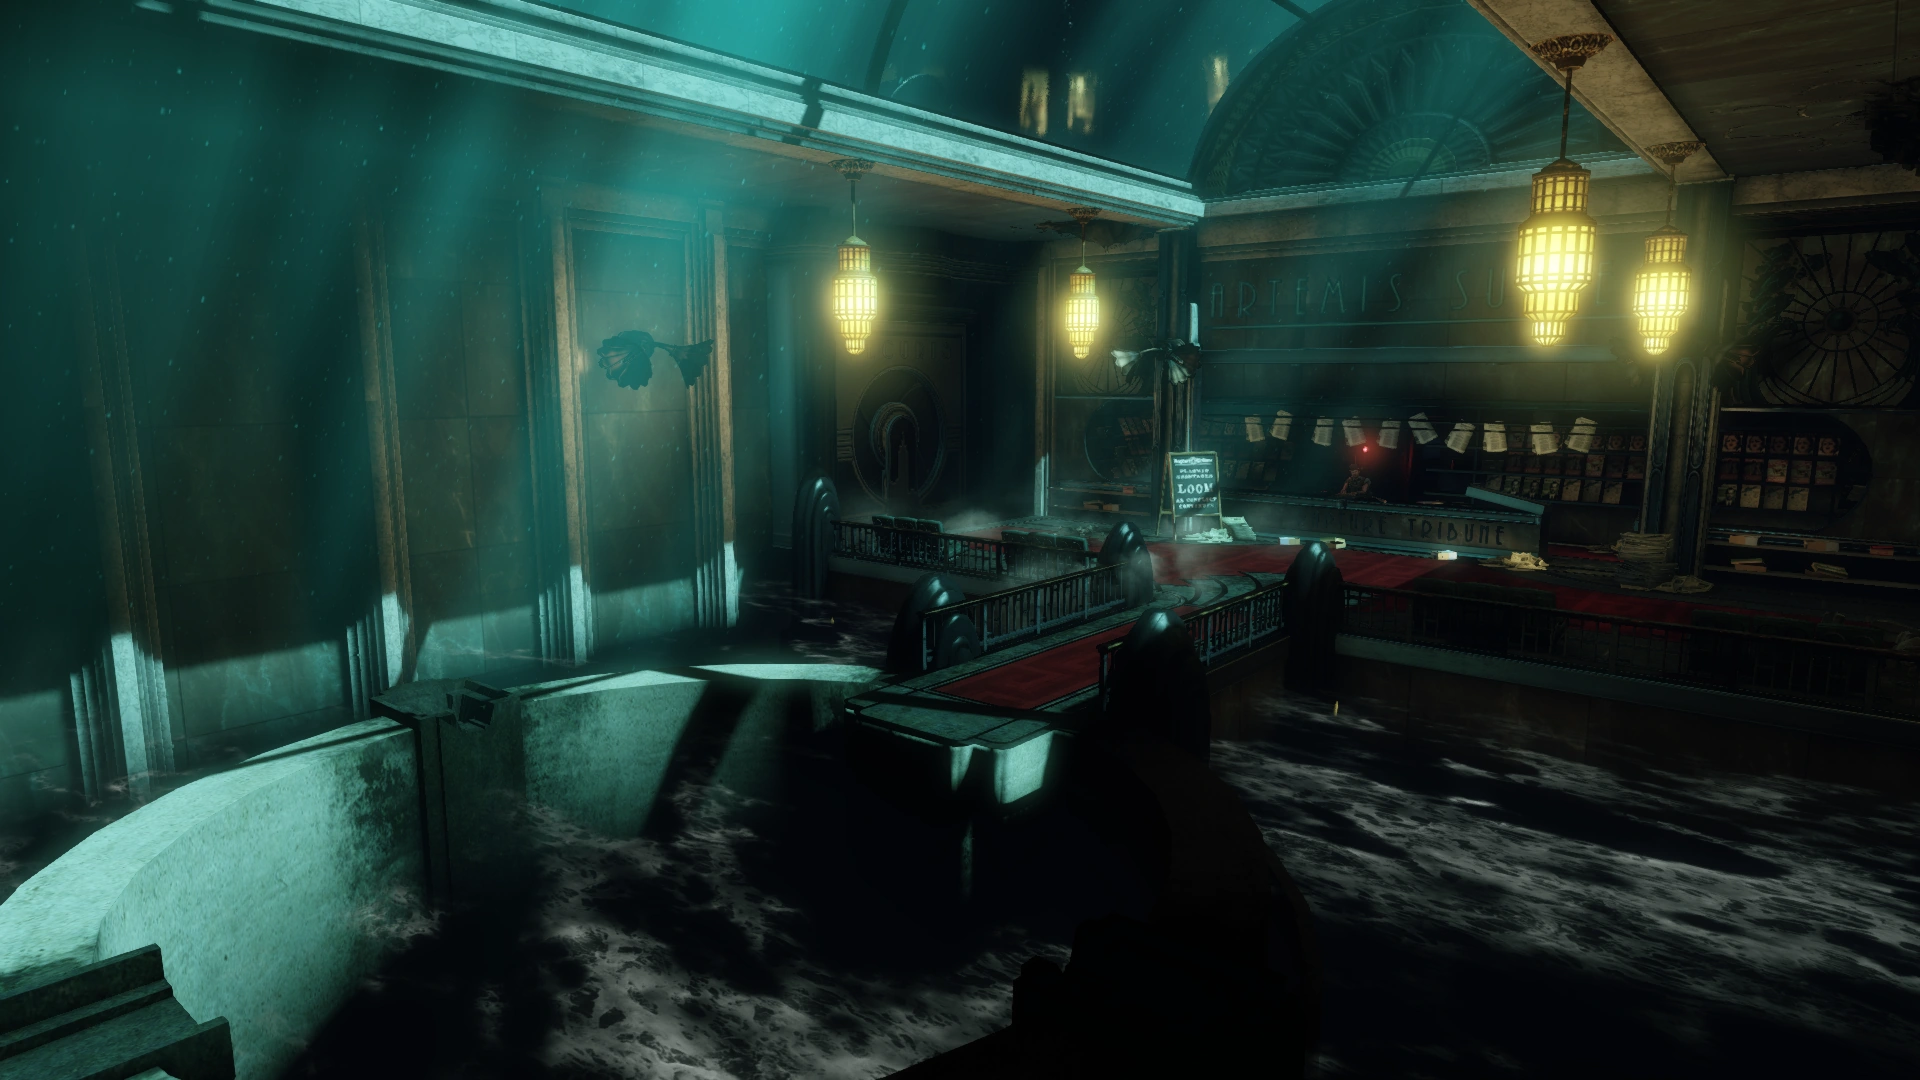
Rapture Metro Station[]
Built beneath the tram tunnel connecting Hestia Chambers to the main square, the station could only be accessed by two elevators, one of which is now destroyed. The station itself now lies in ruin, with dust and debris covering almost the entire floor. A statue has fallen from the wall, bringing a large pipe down with it.
A spliced up woman sleeps on a mattress on the floor, surrounded by empty tins of cat food. Another splicer wonders by the Bathysphere. Over the bulkhead leading out of the station an "Opportunity awaits" sign almost mocks the workers who were forced to live in Apollo Square.
Hestia Chambers[]

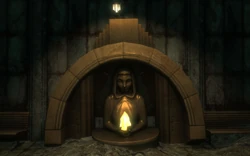
Decorative street light in the form of the deity Hestia.
Another building connected via a trolley tunnel from Apollo Square. Hestia Chambers was the part of Apollo Square where Atlas and his forces holed-up and planned attacks. Many of the district's residents decided to join Atlas simply because he provided them with food, ADAM, and hope. Two of Fontaine's charities located here are the Little Sister's Orphanage, a deception Fontaine used to gather young girls to turn them into Little Sisters, and Fontaine's Home for the Poor, a tenement-style housing where he gained support from lower class citizens to fight for him. Atlas, portrayed as a dashing revolutionary leader figure, was believed to be fighting for Rapture's downtrodden people. He had some affluent followers, including Diane McClintock, Ryan's ex-mistress, whom Atlas murdered when she discovered his real identity.[3]
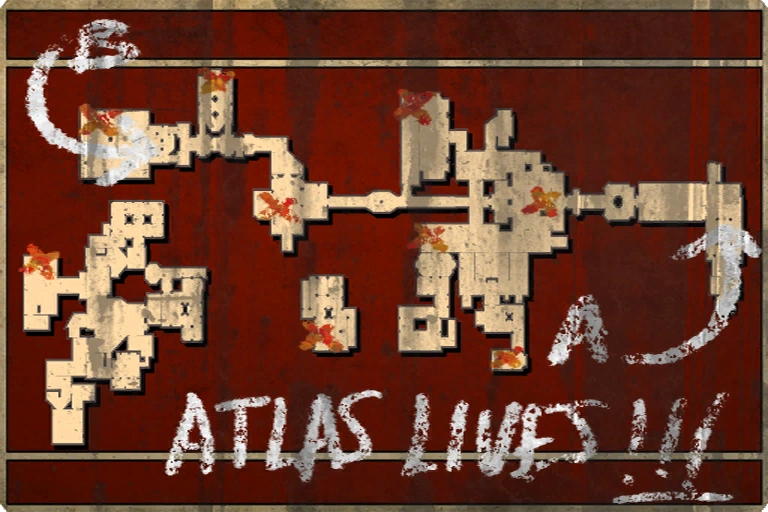
Map[]
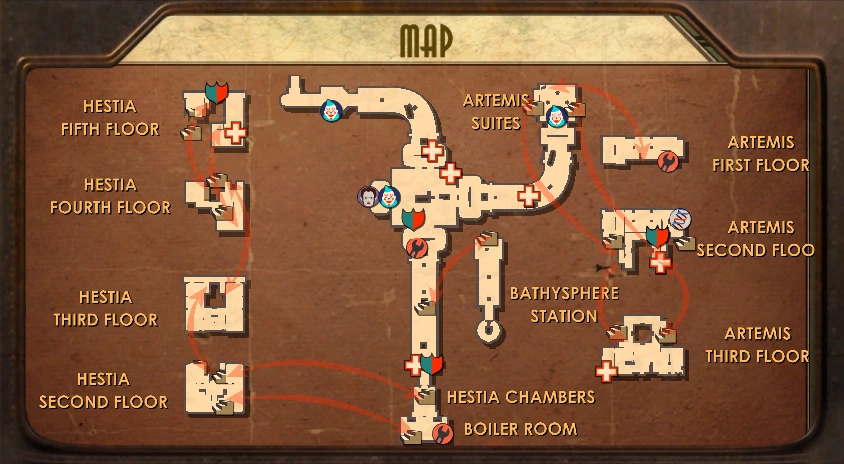


Station
Machine
Garden
Bank
Panel
Station
Diary
Tonic
Tonic
Tonic
New Discoveries[]
![]()
![]()
Single Use Events[]
- There is one Power to the People vending machine.
New Plasmids and Tonics (found)[]
- Focused Hacker 2- Fourth floor of the Hestia Chambers, next to a safe.
- Medical Expert 3 - Dr. Suchong's Free Clinic, Artemis Suites.
Audio Diaries[]
- For Radio Messages in Olympus Heights, see Radio Messages: Olympus Heights - Apollo Square.
- Diane McClintock - What's Happening Here? - Apollo Square on the ground by Olympus Heights bulkhead.
- Diane McClintock - Atlas Lives - Apollo Square near Gatherer's Garden.
- Yi Suchong - Protection Bond - Artemis Suites, Suchong's clinic near the dose of Lot 192.
- Diane McClintock - Meeting Atlas - Hestia Chambers, Fontaine's Home for the Poor right of entrance inside steamer trunk.
- Frank Fontaine - The Longest Con - Hestia Chambers, Atlas' Headquarters on the desk next to the tonic.
- Diane McClintock - Today's Raid - Hestia Chambers, Atlas' Headquarters on a corpse near the safe.
Walkthrough[]
| Extended Walkthrough |
|---|
Apollo Square
Hestia Chambers
Artemis Suites
|

Burial at Sea - Episode 2[]
- Main article: Burial at Sea - Episode 2
Apollo Square is visited during the end of the episode. Elizabeth is sent by Atlas to retrieve the "Ace in the Hole", found in Dr. Suchong's Free Clinic. After being pushed out of the Bathysphere by Atlas and his crew, Elizabeth finds herself on the Artemis Suites' metro station and is escorted to a hidden entrance for the clinic. Trying to find Dr. Suchong, she stumbles across a damaged Big Daddy, blocking the rest of the clinic, and two Little Sisters which she ends up helping. Hearing the doctors voice, she pushes a button on the wall that opens a hidden door to the rest of the clinic (the area visited in BioShock). The two Little Sisters Elizabeth helped earlier provokes the frustrated doctor to hit one of them, causing the protecting Big Daddy to drill Suchong to his desk, all of which Elizabeth witnesses behind the safety glass. The "Ace in the Hole" is found next to Suchong's corpse and Elizabeth exits through a hole in the wall to meet Atlas.
Gallery[]
BioShock[]
Concept Art and Pre-Launch Images[]
")
")
")
")
In-Game Images[]
")
")
")
")
")
")
Behind the Scenes[]
- Like many locations in Rapture, Apollo Square drew its name from ancient Greco-Roman mythology. Apollo was the god of healing and the arts.[4]
- All levels restrict the Splicer population to a set of three models. Apollo Square is the exception as four separate models (Baby Jane, Ducky, Toasty, and Waders) appear.
- The map on the table in Atlas' HQ, seen right, is a map of Medical Pavilion. It's possible that this may be a reference to Fontaine's surgical transformation as Atlas, especially since "Atlas Lives!!!" is written over the map. Coincidentally, Point A on the map is the location of Jack's Bathysphere and Point B is the location of Jack's confrontation with Dr. J.S. Steinman.
- If one were to look up towards the ceiling of the Rapture Metro station in this area, they would notice that it is made entirely of glass with a view of the city above. This doesn't make sense, as the station is located underneath the tram lines and thus should be made of concrete.
- A dog barking can occasionally be heard in the ambiance of this level, most notably Artemis Suites, but a dog is never encountered in BioShock.
- When the player enters the airlock in Olympus Heights to Apollo Square the floor of the airlock is clean, however after entering Apollo Square the same airlock will be filled with rubble. This will reverse when the player re-enters Olympus Heights and will return if the player goes back.
References[]
- ↑ Diane McClintock's Audio diary: What's Happening Here?
- ↑ Unused Radio Message from Stanley Poole - ADAM as Payment.
- ↑ Frank Fontaine's Audio Diary: The Longest Con
- ↑ Apollo on Wikipedia
